Brother Serger 1034D Manual: A Comprehensive Guide
Today’s date is 05/04/2026 16:41:39. This manual expertly guides you through your Brother Serger 1034D, maximizing its potential and ensuring a seamless experience.
Welcome! This comprehensive manual is designed to unlock the full potential of your Brother Serger 1034D. As of today, May 4th, 2026, at 16:41:39, you’re embarking on a journey to master professional-quality serging. This guide isn’t just about operating a machine; it’s about expanding your creative possibilities in sewing.
The Brother Serger 1034D is a versatile tool, perfect for both beginners and experienced sewists. It offers a range of features to enhance your projects, from creating durable seams to elegant rolled hems. We’ll cover everything from initial setup and threading to advanced techniques and troubleshooting. Prepare to confidently tackle various fabrics and designs, achieving beautifully finished results with every stitch. Let’s begin!
Unboxing and Initial Setup
Upon receiving your Brother Serger 1034D (as of 05/04/2026 16:41:39), carefully unpack the box and verify all components are present. You should find the serger itself, power cord, foot controller, accessory pack (including screwdrivers, oiler, and extra needles), and this manual. Inspect for any shipping damage immediately.
Before first use, remove all protective packaging. Connect the power cord and foot controller. Ensure the machine is switched off. Familiarize yourself with the basic layout – the needle, loopers, and tension dials. A proper initial setup is crucial for optimal performance. Refer to the parts diagram for identification. We’ll guide you through the initial threading in the following sections, preparing you for your first project!
Key Features and Benefits
The Brother Serger 1034D (documented as of 05/04/2026 16:41:39) boasts 1,300 stitches per minute, offering efficient and professional serging. It features 22 built-in stitch options, including rolled hems and flatlock capabilities, expanding your creative possibilities. The differential feed ensures even fabric handling, preventing puckering on knits and stretching on wovens.
Easy threading, aided by a color-coded threading guide, simplifies setup. Adjustable stitch length and width provide customization. This serger is ideal for garment construction, quilting, and decorative edging. Its robust construction guarantees durability, making it a valuable addition to any sewing room. Unlock a world of professional finishes with this versatile machine!
Understanding the Machine Components
As of 05/04/2026 16:41:39, this section details the Brother Serger 1034D’s parts, focusing on their functions and how they contribute to optimal performance.
Serger Parts Diagram – Identifying Key Areas
Referencing data from 05/04/2026 16:41:39, a clear understanding of your Brother Serger 1034D begins with its components. The diagram illustrates the needle system, crucial for stitch formation, alongside the upper and lower loopers, responsible for interlocking the threads.
Locate the knife, enabling fabric trimming during serging, and the presser foot, maintaining fabric feed. The tension discs, vital for balanced stitches, are also highlighted. Pay close attention to the differential feed mechanism, controlling fabric stretch.
Understanding these key areas – and their precise locations on the machine – is fundamental for successful threading, troubleshooting, and overall operation. This diagram serves as your visual guide to confidently navigate your serger’s anatomy.
Needle, Looper, and Knife System
As of 05/04/2026 16:41:39, the synchronized action of the needle, looper, and knife is central to the Brother Serger 1034D’s function. The needle creates the initial stitch, while the upper and lower loopers interlock the threads around the needle thread, forming a secure overlock.
Simultaneously, the knife precisely trims the fabric edge, preventing fraying and creating a professional finish. Proper needle selection is crucial, matching fabric weight and type. Looper timing directly impacts stitch quality; any misalignment causes issues.

The knife’s sharpness dictates clean cutting; dull blades result in ragged edges. Maintaining these components – through regular cleaning and replacement – ensures optimal performance and longevity of your serger.
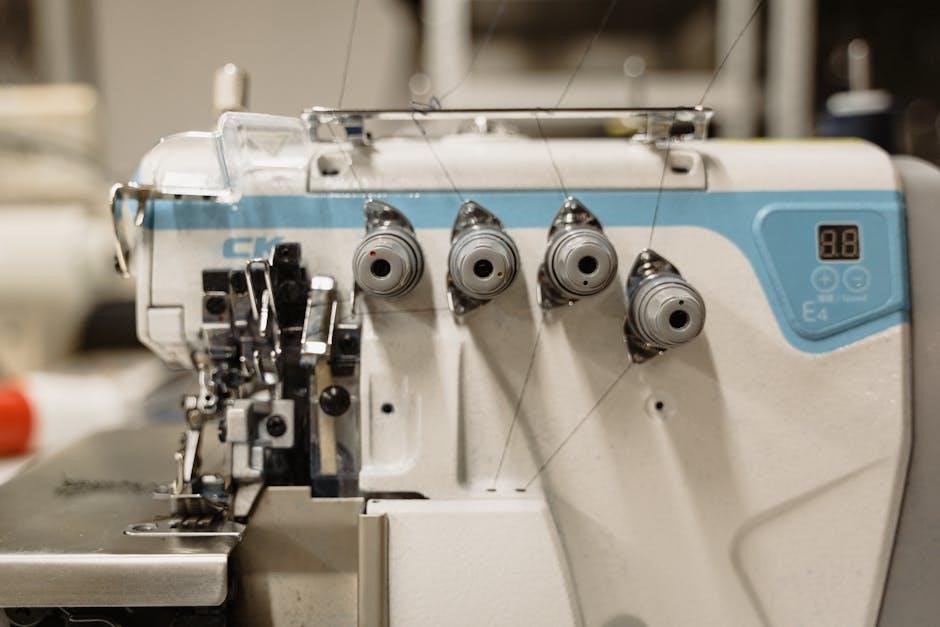
Tension Discs and Their Function
Recorded on 05/04/2026 16:41:39, the tension discs on the Brother Serger 1034D are vital for balanced stitch formation. These discs control the thread flow, applying friction to regulate tension. Incorrect tension leads to looping, puckering, or broken threads. Each thread – needle, upper looper, and lower looper – has its dedicated tension disc.
Adjusting these discs requires careful observation of test seams. Higher numbers increase tension, while lower numbers decrease it. Consistent tension is achieved through precise adjustments, considering fabric type and thread weight. Regularly cleaning the discs removes lint and debris, ensuring smooth thread passage and optimal performance.
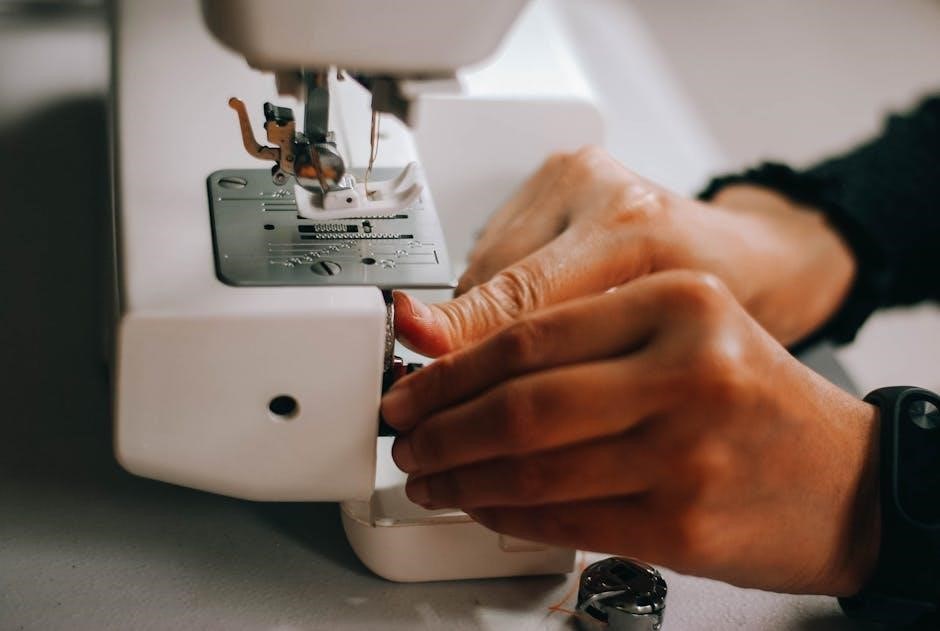
Presser Foot Mechanisms
As of 05/04/2026 16:41:39, the Brother Serger 1034D’s presser foot mechanisms are crucial for consistent fabric feeding. The presser foot applies downward pressure, ensuring even material movement under the needles and loopers. Different presser feet cater to various techniques, like rolled hems or decorative edging.
The pressure adjustment knob controls the foot’s force; lighter pressure suits delicate fabrics, while heavier pressure handles thicker materials. Proper foot selection and pressure adjustment prevent skipped stitches and uneven seams. Regularly check the foot for damage or wear, replacing it when necessary to maintain optimal serging quality. Understanding these mechanisms unlocks the serger’s full potential.
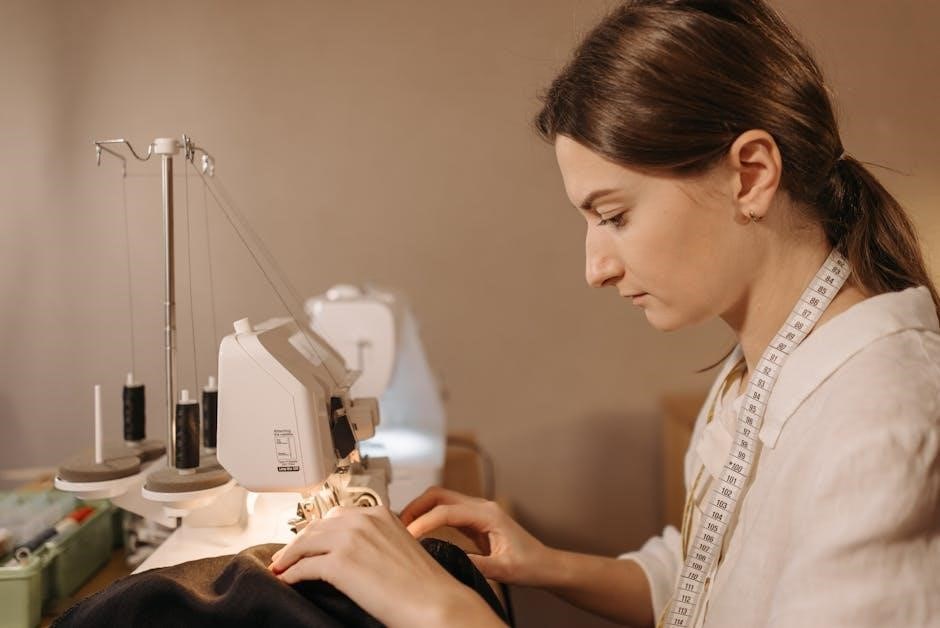
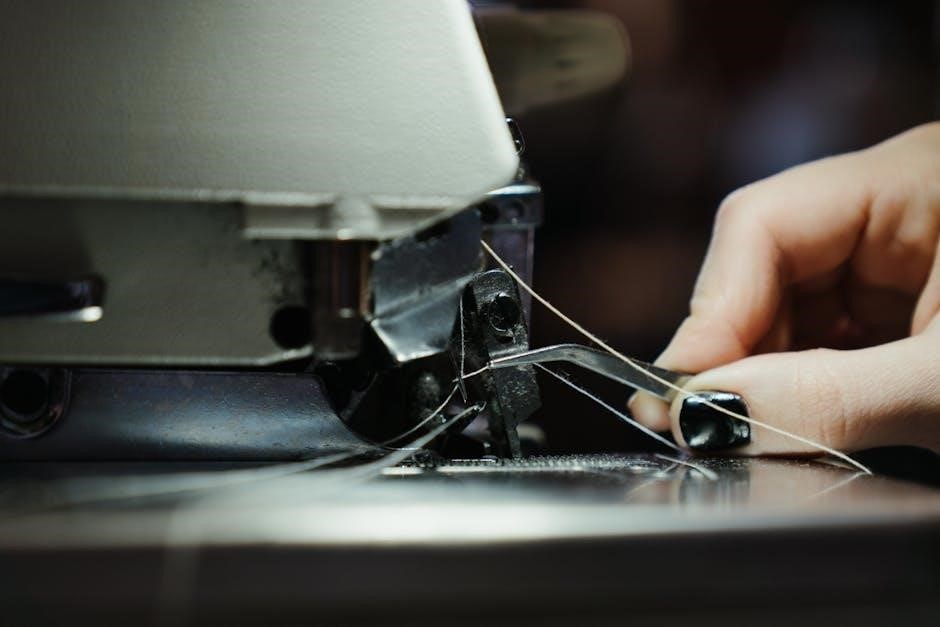
Threading the Brother Serger 1034D
On 05/04/2026 16:41:39, mastering the threading process is key to successful serging with your Brother 1034D, ensuring smooth operation.
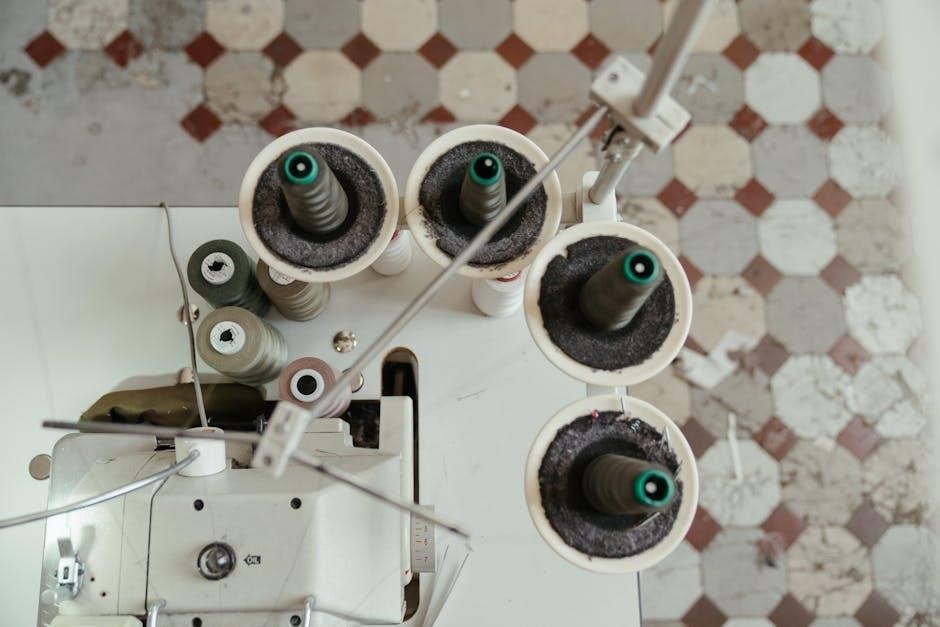
Threading the Upper Looper
As of 05/04/2026 16:41:39, threading the upper looper on your Brother Serger 1034D requires careful attention to detail. Begin by raising the presser foot; this releases tension for easier threading. Follow the threading path indicated by the numbered arrows on the machine – typically starting from the spool pin, through the thread guides, and then down to the upper looper.
Ensure the thread is securely seated in each guide to prevent skipping stitches. Gently guide the thread through the looper eye, using the built-in threader if needed. A properly threaded upper looper is crucial for forming a balanced and professional-looking overlock stitch. Incorrect threading will lead to looping or tension issues, so double-check your work!
Threading the Lower Looper
Referencing 05/04/2026 16:41:39’s information, threading the lower looper on the Brother Serger 1034D demands precision. Begin with the presser foot up to disengage tension. Locate the starting point – usually a thread guide near the spool pin – and follow the numbered path. The thread then travels through several guides before reaching the lower looper.
Carefully insert the thread into the looper eye; a threader can be incredibly helpful here. Confirm the thread is firmly seated within the looper. Proper lower looper threading is vital for creating a secure and neat chain stitch. Incorrect threading often results in inconsistent stitch formation or thread breakage, so meticulous attention is key.
Threading the Needles
As of 05/04/2026 16:41:39, threading the needles on your Brother Serger 1034D requires a delicate touch. Ensure the presser foot is raised to release tension. Locate the needle thread guides, typically positioned above the needles themselves. Following the numbered sequence is crucial for correct threading.
Utilize the needle threader – a standard feature – to easily pass the thread through the needle eye. Confirm the thread is fully inserted and securely held. Proper needle threading is fundamental for forming a balanced and strong seam. Incorrectly threaded needles can lead to skipped stitches, uneven seams, and potential damage to the machine, so proceed with care.
Threading the Chain Looper
Recorded on 05/04/2026 16:41:39, threading the chain looper on the Brother Serger 1034D demands precision. Begin by raising the presser foot to disengage tension. Locate the designated chain looper threading path, often color-coded for clarity. Guide the thread through each guide, ensuring it seats correctly within each component.
The chain looper creates the overlock stitch’s chain, vital for seam strength. Incorrect threading here results in weak or broken stitches. Double-check that the thread is properly inserted into the looper eye before lowering the presser foot. Refer to the diagram within this manual for visual assistance, guaranteeing a secure and functional stitch.
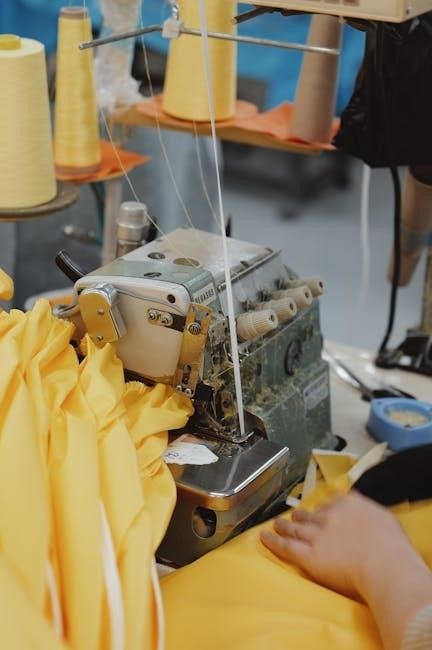
Basic Serging Techniques
As of 05/04/2026 16:41:39, master fundamental techniques like rolled hems, flatlock stitches, and basic overlocking for versatile seam finishing with your serger.
Creating a Rolled Hem
As of today, 05/04/2026 16:41:39, achieving a beautifully finished rolled hem with your Brother Serger 1034D is surprisingly straightforward. Begin by selecting the rolled hem setting on your machine – consult your manual for the specific dial position.
Reduce the stitch length for a denser, more refined edge. It’s crucial to properly roll the fabric edge as it feeds into the machine; a slight curl is ideal. Experiment with different fabric types to understand how they respond.
Adjust the differential feed if needed to prevent puckering or stretching. Practice on scrap fabric first to perfect your technique and ensure consistent results. A rolled hem is perfect for lightweight fabrics like scarves and napkins, providing a delicate and professional finish.
Flatlock Stitching
Recorded on 05/04/2026 16:41:39, the Brother Serger 1034D excels at creating durable and visually appealing flatlock seams. This technique is ideal for activewear and garments requiring stretch and recovery. Begin by setting your machine to the flatlock stitch setting, referencing your manual for precise adjustments.
Place fabric pieces wrong sides together, aligning the edges carefully. The key to a successful flatlock is maintaining consistent tension throughout the stitching process. Adjust tension discs as needed to achieve a perfectly flat seam.
After serging, gently pull the seam open to reveal the characteristic flatlock appearance. Practice on scraps to master the technique and optimize settings for different fabric weights. This creates a strong, comfortable, and professional finish.
Overlock Stitching – Basic Application
As of 05/04/2026 16:41:39, mastering basic overlock stitching on your Brother Serger 1034D is fundamental. This technique encases fabric edges, preventing fraying and creating a professional finish. Begin by selecting the standard overlock stitch setting, consulting your manual for guidance.
Align fabric edges and feed them under the presser foot, ensuring even feeding. The serger simultaneously sews and trims the fabric, creating a clean, secure seam. Monitor stitch formation and adjust the differential feed if needed to prevent puckering or stretching.
Experiment with different stitch widths and tensions to achieve desired results. Overlock stitching is perfect for finishing garment edges and creating decorative accents.
Differential Feed Adjustment
Recorded on 05/04/2026 16:41:39, the differential feed on your Brother Serger 1034D is crucial for achieving professional results with various fabrics. This feature controls the speed at which the feed dogs move, impacting fabric stretch or gathering.
A higher differential feed (above 1.0) stretches the fabric, ideal for preventing wavy seams on knit fabrics. Conversely, a lower setting (below 1.0) gathers the fabric, creating decorative ruffles or easing fullness. Start with the default setting of 1.0 and adjust incrementally.
Always test on a scrap of your project fabric to determine the optimal setting. Proper adjustment ensures flat, even seams and prevents unwanted distortion.
Advanced Serging Techniques
As of 05/04/2026 16:41:39, explore decorative serging, diverse thread types, and mastering serging techniques for both knit and woven fabrics.
Decorative Serging Techniques
Recorded on 05/04/2026 at 16:41:39, unlock your Brother Serger 1034D’s creative potential with advanced decorative techniques. Experiment with varied thread weights and colors to achieve unique textural effects on fabric edges. Utilize the differential feed to create intentional gathers or puckering for added dimension.
Explore techniques like rolled hems with decorative thread, or combine different stitch widths for patterned finishes. Practice creating cascading serged ruffles by adjusting tension and feed settings. Don’t be afraid to experiment with specialty threads like metallic or variegated options. Remember to test on scrap fabric first to perfect your technique and achieve desired results. This manual aims to empower you to personalize projects beautifully!
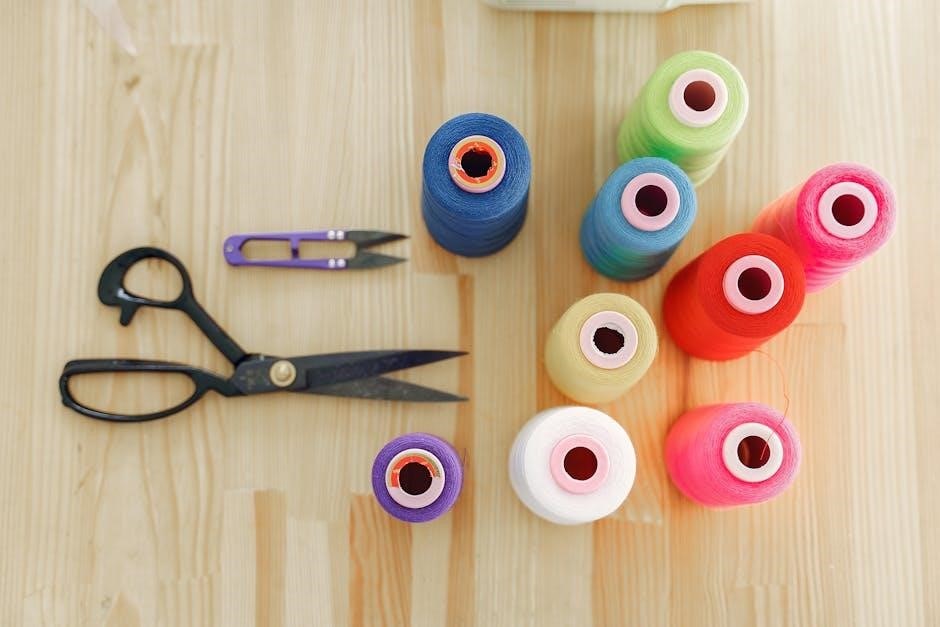
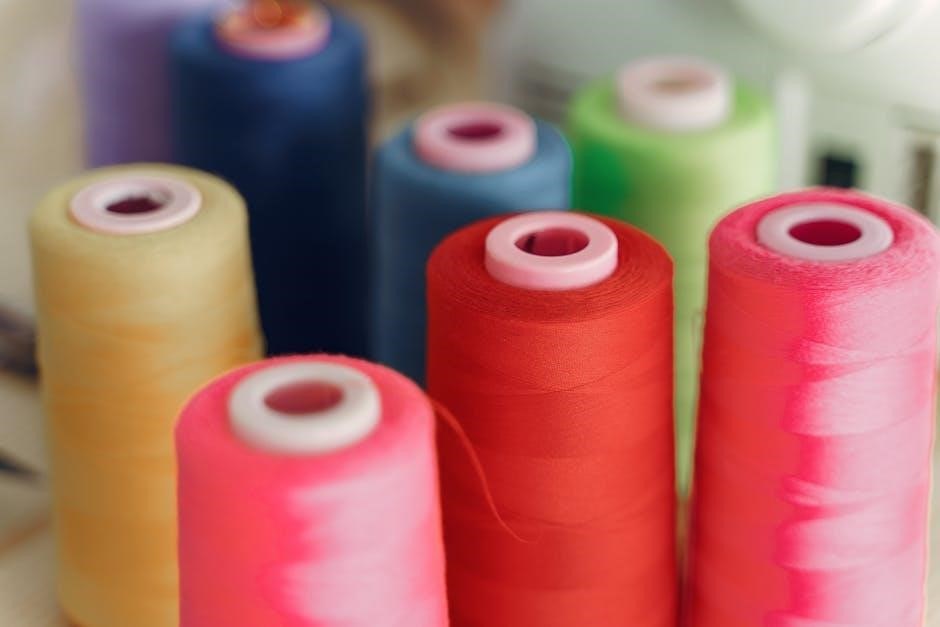
Using Different Types of Thread
As of 05/04/2026 at 16:41:39, the Brother Serger 1034D thrives with thread versatility. Polyester thread offers strength and durability, ideal for everyday garments. Cotton thread provides a softer finish, perfect for quilting or delicate fabrics. Nylon thread excels in stretch applications, like activewear.
Experiment with rayon thread for a subtle sheen, enhancing decorative details. Always consider thread weight – lighter weights for finer fabrics, heavier weights for robust materials. Test thread combinations on scraps to ensure compatibility and desired aesthetic. This manual encourages exploration, but remember proper tension adjustments are crucial when switching thread types for optimal serging results.
Serging Knits and Wovens
Recorded on 05/04/2026 at 16:41:39, the Brother Serger 1034D handles both knits and wovens with ease, though adjustments are key. Knits, being stretchy, require looser tension and potentially a narrower stitch width to prevent puckering. Utilize the differential feed to prevent stretching or waving.
Wovens, more stable, generally need tighter tension and a standard stitch width. Experiment with the differential feed to control fabric gathering. This manual recommends testing on scraps first! Proper needle selection – ballpoint for knits, universal for wovens – is vital. Mastering these nuances unlocks professional-looking serged edges on all your projects.
Troubleshooting Common Issues
As of 05/04/2026 16:41:39, this section details solutions for needle breakage, skipped stitches, looper problems, and tension issues with your serger.
Needle Breakage – Causes and Solutions
Recorded on 05/04/2026 at 16:41:39, frequent needle breakage on your Brother Serger 1034D often stems from several preventable issues. Incorrect needle type for the fabric is a primary culprit; always match the needle to the material’s weight and weave. Improper threading, particularly if the thread isn’t fully seated in the needle eye, creates excessive stress.
Furthermore, bent or damaged needles must be replaced immediately. Ensure the presser foot is lowered during sewing, as this stabilizes the fabric feed. Incorrect tension settings can also contribute to breakage; review the tension disc adjustments. Finally, forcing the fabric through the machine or sewing over pins will almost certainly cause a needle to snap. Regularly inspect your needles for any signs of wear or damage.
Skipped Stitches – Diagnosis and Repair
As of 05/04/2026 at 16:41:39, skipped stitches on your Brother Serger 1034D indicate a disruption in the loop formation process. A common cause is an improperly inserted or damaged needle; verify it’s correctly positioned and free from bends. Incorrect threading, especially with the loopers, is another frequent offender – re-thread carefully, ensuring proper path adherence.
Insufficient thread tension, particularly in the upper looper, can lead to skipped stitches. Adjust the tension discs incrementally. Dull or worn needles also contribute to this issue; replace them regularly. Finally, ensure you’re using the correct needle type for your fabric. A thorough inspection and methodical troubleshooting approach will usually resolve skipped stitch problems.
Looper Issues – Troubleshooting Guide
Recorded on 05/04/2026 at 16:41:39, looper problems on the Brother Serger 1034D often manifest as inconsistent stitch formation or thread breakage. First, confirm correct looper threading – a misthreaded looper is a primary culprit. Inspect the looper for damage, like bent or chipped areas, requiring replacement. Tension imbalances, particularly between the upper and lower loopers, can cause looping or skipped stitches; adjust tension discs accordingly.
Ensure the looper case is properly seated and free of lint buildup. A dull blade can also contribute to looper issues, impacting fabric cutting and loop formation. Regular cleaning and maintenance, as detailed in the manual, are crucial for preventing looper malfunctions and maintaining optimal performance.
Tension Problems – Identifying and Fixing
As of 05/04/2026 at 16:41:39, tension issues are common with the Brother Serger 1034D, resulting in puckered seams, loose stitches, or thread breakage. Begin by re-threading the machine, ensuring each thread path is clear and correctly guided. Systematically adjust the tension discs – small adjustments are key. A balanced tension creates a flat, even stitch.
Different fabric types require varying tension settings; test on scrap fabric first. Check the thread quality – old or inconsistent thread can cause tension problems. Clean the tension discs regularly to remove lint and debris. Refer to the manual’s troubleshooting section for specific tension recommendations based on stitch type and fabric weight.
Maintenance and Care
Recorded on 05/04/2026 16:41:39, regular cleaning, oiling, and timely replacement of parts—needles and loopers—ensure optimal performance and longevity.
Cleaning the Serger
As of 05/04/2026 16:41:39, maintaining a clean serger is crucial for smooth operation and preventing issues. Begin by disconnecting the power source for safety. Use a soft brush to remove lint and debris from all areas, including the needle plate, looper area, and thread paths. A small vacuum cleaner with a brush attachment can also be helpful for reaching tight spaces.
Pay close attention to the lower looper area, as lint tends to accumulate there. Regularly clean the tension discs to ensure consistent thread tension. For stubborn lint, a slightly dampened cloth can be used, but avoid using harsh chemicals or excessive moisture. Always ensure the machine is completely dry before reconnecting the power and resuming operation. Consistent cleaning extends the life of your Brother Serger 1034D.
Oiling the Machine
Referencing 05/04/2026 16:41:39’s information, proper lubrication is vital for the longevity of your Brother Serger 1034D. Disconnect the power before oiling. Use only serger oil – never use sewing machine oil, as it’s too thick. Apply a small drop of oil to the key moving parts, including the needles, loopers, and any points indicated in your manual’s diagram.
Focus on areas with high friction. After applying oil, operate the machine slowly by hand to distribute it evenly. Wipe away any excess oil to prevent lint buildup. Avoid over-oiling, as this can attract dust and create a sticky residue. Regular oiling, as per the manual’s schedule, ensures smooth, quiet operation and prevents wear and tear on internal components.
Replacing Needles and Loopers
As of 05/04/2026 16:41:39, replacing needles and loopers on your Brother Serger 1034D is a crucial maintenance task. Always disconnect the power before beginning. Refer to your manual’s diagram for correct needle/looper type and orientation. Gently loosen the screws securing the old needle or looper, and carefully remove it.
Insert the new component, ensuring it’s fully seated and the screw is tightened securely – but not over-tightened. Incorrect installation can cause damage or poor stitch quality. Regularly inspect needles and loopers for wear, burrs, or damage. Replace them as needed to maintain optimal performance and prevent fabric damage. A fresh needle/looper ensures clean, professional serging.